

In this XrmToolBox series, in the first four articles i have explained about,
- How to Install the XrmToolBox?
- How to Connect to Dataverse/ Dynamics 365 organization in XrmToolBox?
- How to Install a Tool in XrmToolBox?
- How to use XrmToolBox with some Tips?
Now, in this article, I am going to explain about some more important Tips that we can use it in XrmToolBox.
Tip 5: Hide XrmToolBox Library
Be default, XrmToolBox Library pop up will be opened every time after the launch of XrmToolBox.

Follow the below steps to hide XrmToolBox Tool Library.
Step 1: Click on Show on XrmToolBox startup button.

Step 2: After, click of this button, Blue color rectangle border around this button will not be shown.

Close and relaunch the XrmToolBox to see the changes.
Step 3: If you want to open Tools Library, then
Go to Start page and click on Open Tool Library under Quick actions.

or
Click on Configuration and Click on Tool Library.

Tip 6: Manage Connections
By default, all the connections would be stored in the Default connection file. You can organize them according to your need.

Follow the below steps to create a new connection file.
Step 1: Click on Configuration and click on Manage connections.

Step 2: Click on the required Dataverse connection to move to new Connection file and Click on the button as shown below.

Step 3: Provide Connection File name and Choose the Path to save your Connection file in XML format.
Click on OK.
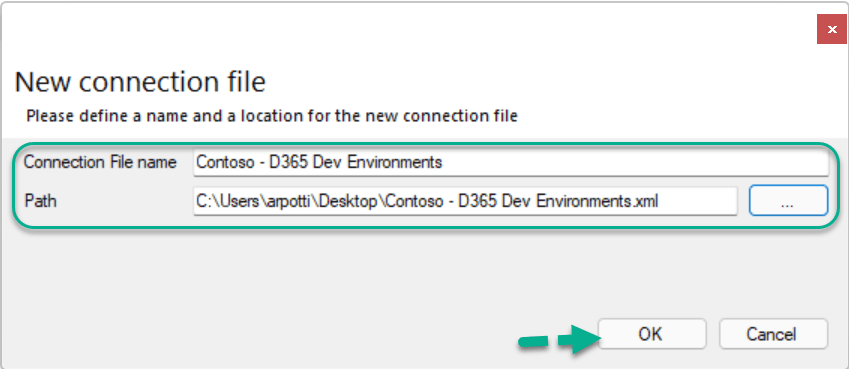
Step 4: New connection has been created and the existing Dataverse connection “Dev – Trial” has been moved to “Contoso – D365 Dev Environments“.

I have created a new Connection file “Contoso – D365 Test Environments” and moved Test – Trial Dataverse connection to it.

Keep all your Connection files in a secure place and if you want to use them again, in a different PC, you can add them again by clicking on Add an exisiting connection file in XrmToolBox.
In this way, you can organize all your connections at a single place in Connections Manager.
Tip 7: Dataverse Connection String
Follow the below steps for getting the connection string of the Dataverse environment.
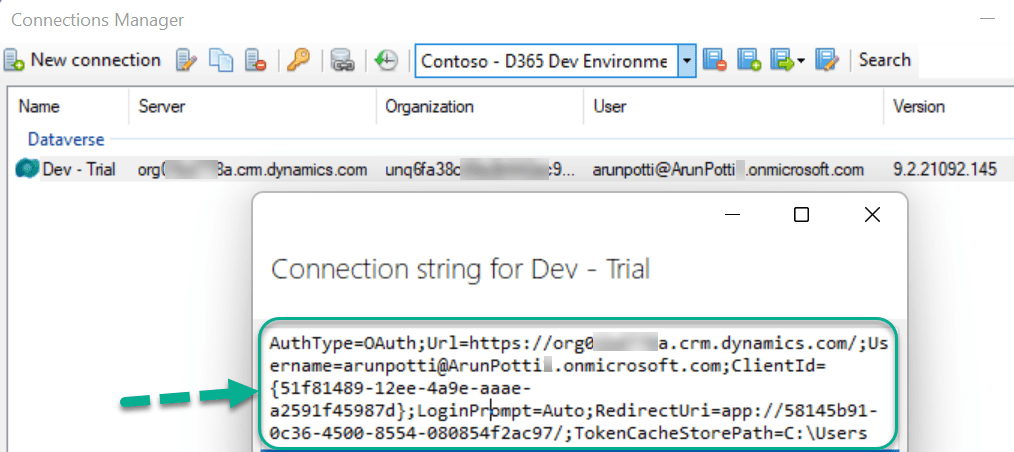
Step 1: Open Connections Manager and Choose your required Connection File.

Step 2: Click on the Database icon as shown below.

Step 3: You can see the below Connection string of the selected Dataverse Environment that can be used in our Code.
Tip 8: XrmToolBox Paths
Follow the below steps to see the XrmToolBox installation folder and storage folder.
Step 1: Click on Configuration -> Settings.

Step 2: Click on Paths tab to see the links for XrmToolBox folder and storage folder.

Step 3: Click on Open XrmToolBox folder to see the XrmToolBox installation folder path with all the Dlls used for running this tool.

Step 4: Click on Open XrmToolBox storage folder to see the all the information related to XrmToolBox like Connections, Logs, Settings etc.

Note: Update your Tools and XrmToolBox, when ever it prompts to see the latest features and bug fixes provided by the Tool Authors.
Please share your valuable feedback on this article.
Discover more from Arun Potti's Power Platform blog
Subscribe to get the latest posts sent to your email.
[…] How to use XrmToolBox with some Tips (5-8)? […]