
We can create custom reports using FetchXML, useful for both Online and OnPremise CRM.
Quickly see a simple example, to get the list of all Contacts.
Step 1: Open BIDS (Business Intelligent Development Studio)
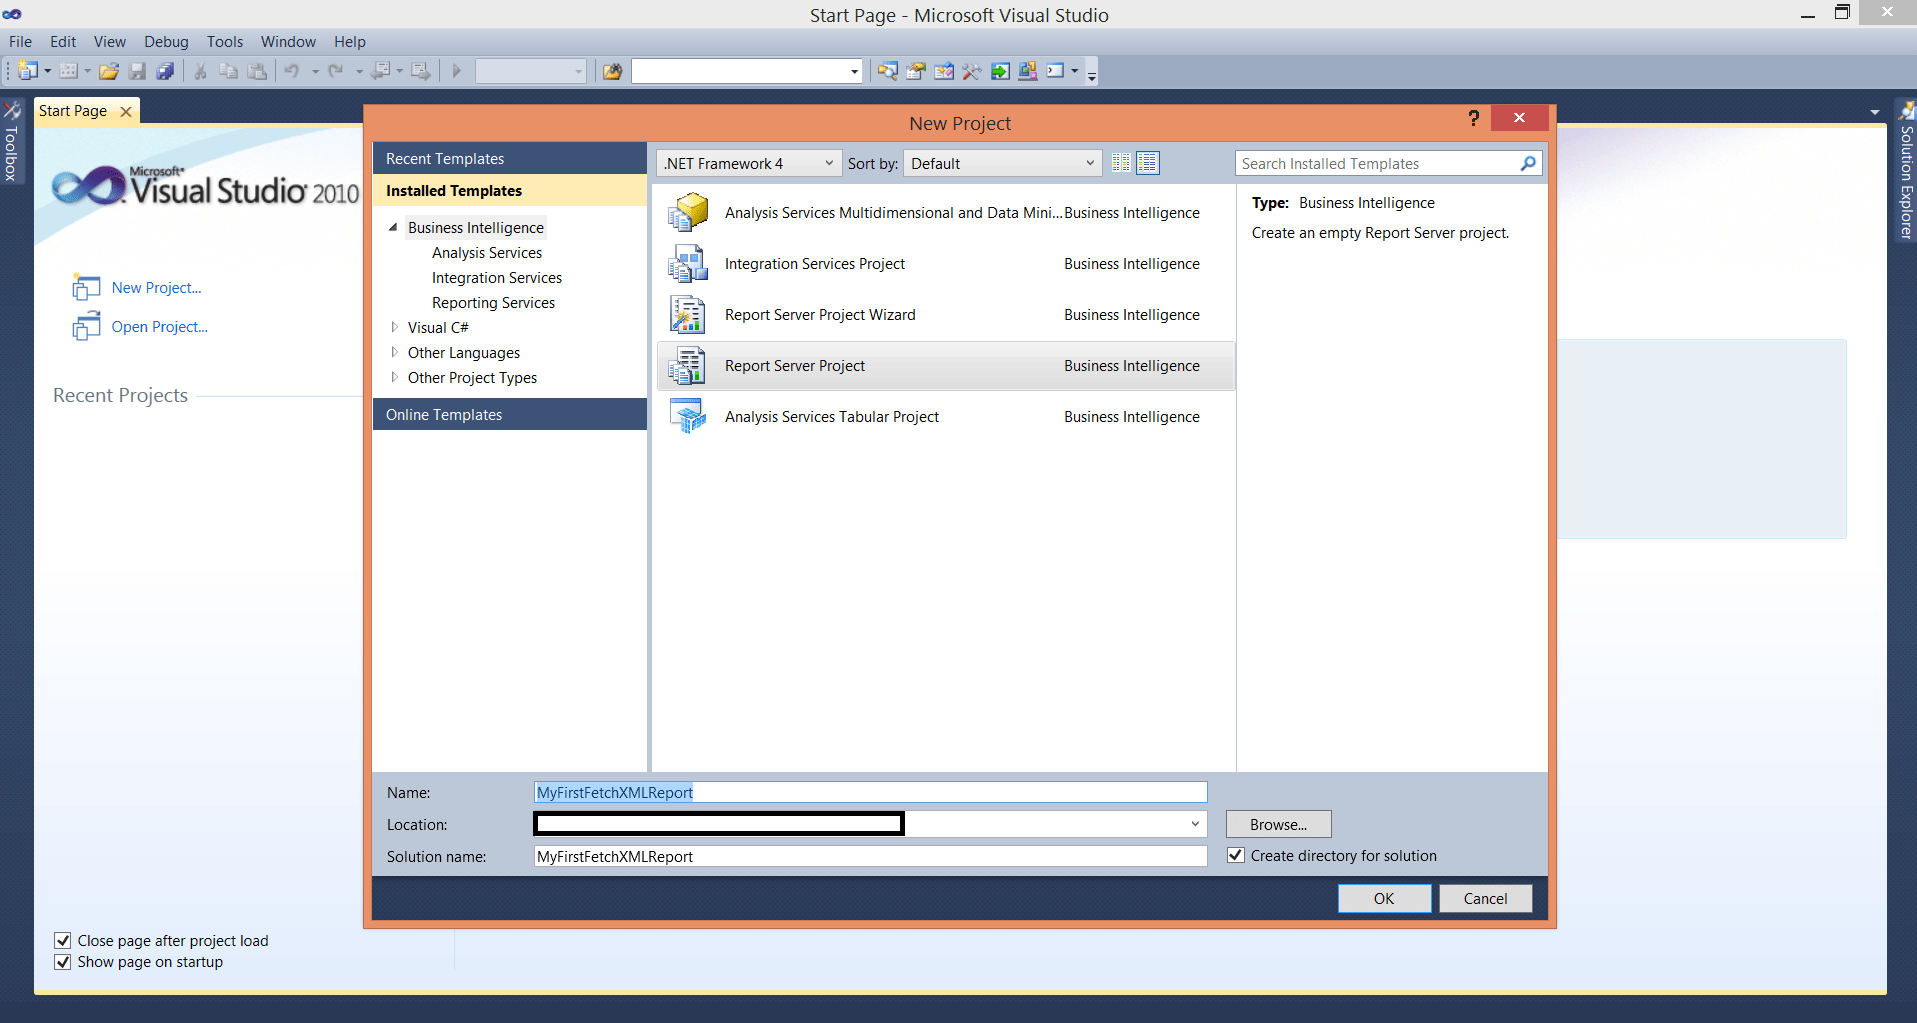
Step 2: Click New Project and select “Report Server Project”. Name your report “MyFirstFetchXMLReport”.
Step 3: In Solution Explorer, Right Click on Reports Folder and Select “Add New Report”.
Step 4: Provide the below details for the Data Source in Report Wizard.
| Name | Give Data Source name |
| Type | Select Microsoft Dynamics CRM Fetch.If you don’t find this option then search for exe “Microsoft Dynamics CRM 2013 Report Authoring Extension (with SQL Server Data Tools support)” download and install. |
| Connection String | It’s a combination of both organization URL and Name separated by semicolon.
Example: https://XYZDEMO.crm5.dynamics.com;DEMOORG For Organization Name, find the below path Microsoft Dynamics CRM –> Settings –> Customizations –> Developer Resources –> Organization Unique Name |

Step 5: Click on Credentials Button and select “Use a Specific user name and password”. Provide userid & password and Click Ok. Click Next Button.
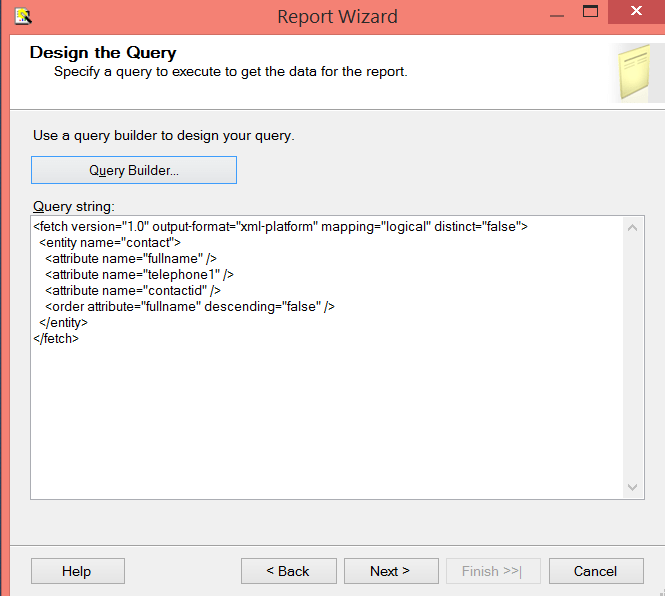
Step 6: Provide Query String which is nothing but FetchXML. Follow the below steps for getting it.
Step 7: Find the below path for opening for Advance Find.
Microsoft Dynamics CRM –> Sales –> Contacts –> Click on Advance Find button

Step 8: In Advance find, click on New Button.
Step 9: Click on Download Fetch XML button and download the FetchXML.xml File and open it with Notepad.

You can find the below query, copy and paste the below into BIDS Query String textbox
Step 10: Finally Report Wizard looks like the below, Click Next.
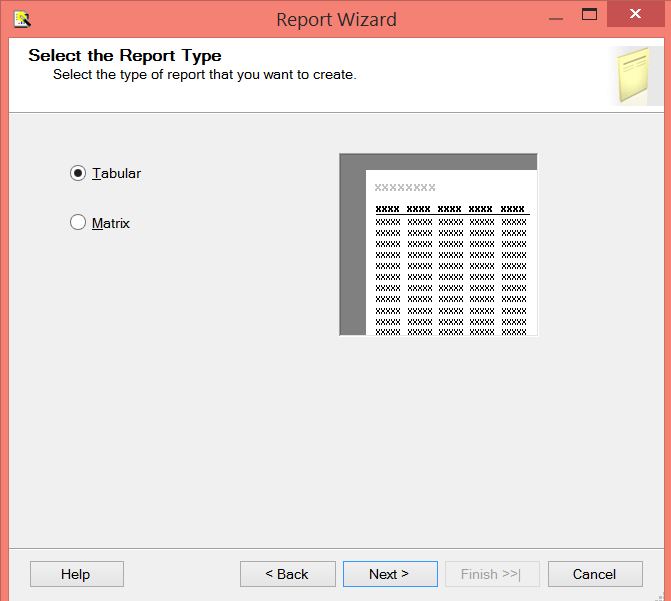
Step 11: Select Report Type “Tabular”. Click Next.
Step 12: Click Next.

Step 13: Select Table Style and Click Next.

Step 14: Give Report Name and Click Finish.

Step 15: Finally the Report design done.
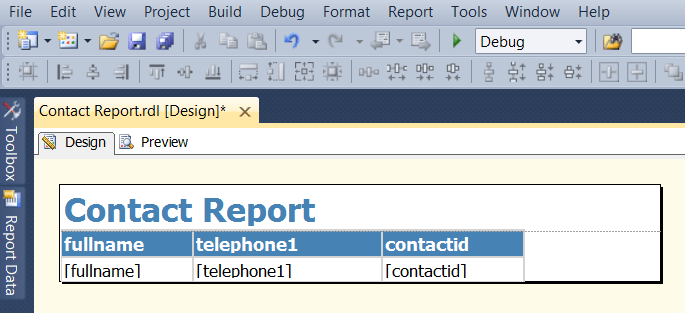
Step 16: Click on Preview.
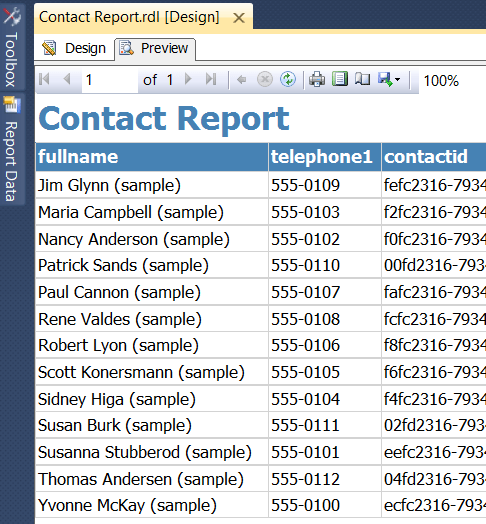
Good Luck. Please revert for any queries.
Please provide your valuable comments on this article.